-
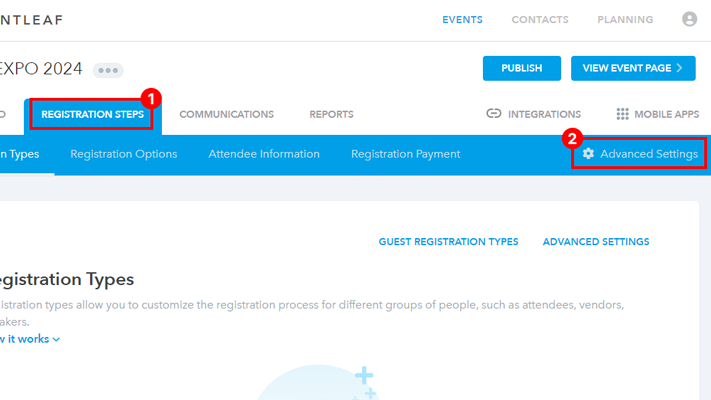
Click on "Registration Steps > Advanced Settings" and scroll down to the "Payment Settings" section.
-
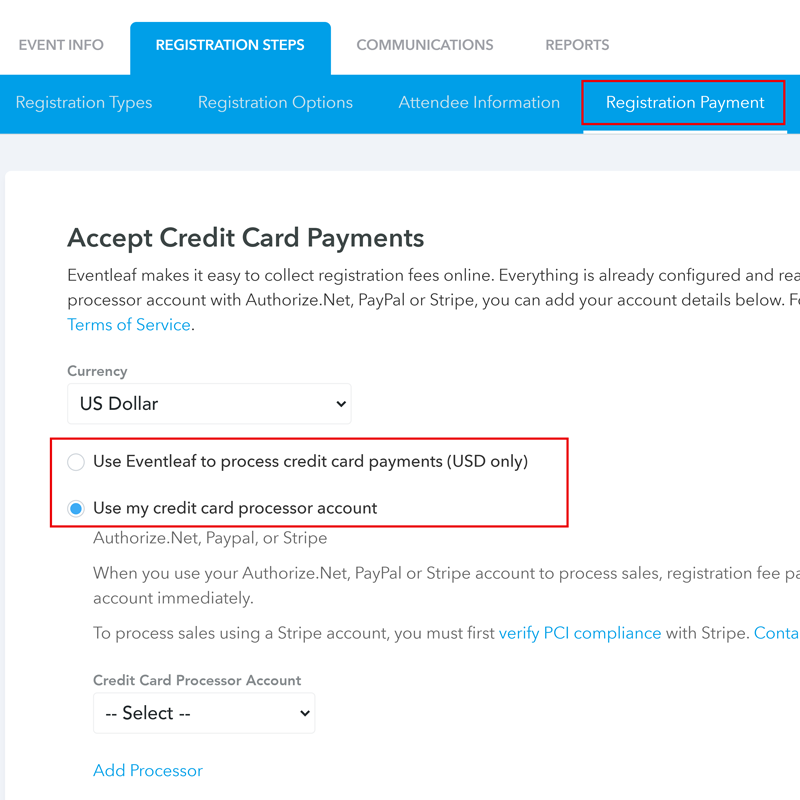
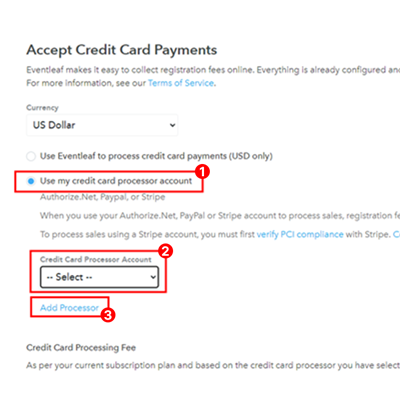
Select either "Use Eventleaf to process credit card payments (USD only)" or "Use my credit card processor account".
-
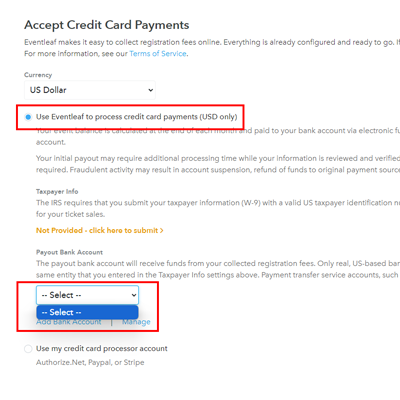
Option 1 - Use Eventleaf to process credit card payments for your event (USD Only) [ Recommended ]
-
Select your bank account if you've added it previously or click "Add Account" to add a new one.
-
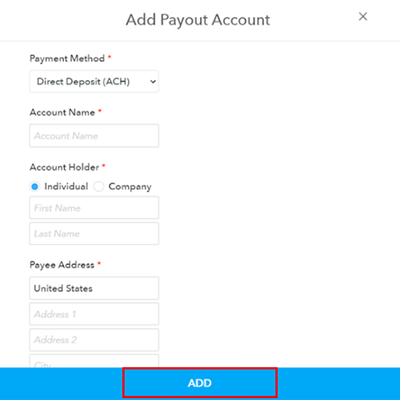
Enter your bank account details and click "Add" to save your account settings.
-
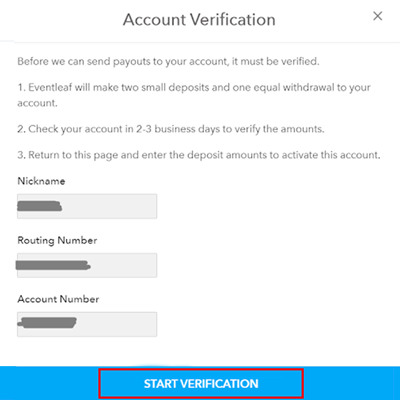
Once you've added your account, click the "Start Verification" link to verify that your account is linked properly.
-
Follow the on-screen instructions to verify your account.
-
Once your account is verified, you can add the same account in payout bank account dropdown. It may take several days for the test deposits to show up in your account.
-
You are all set to use Eventleaf to process credit card payments for your event!
If you choose this option, Eventleaf will process your credit card sales and credit your payout bank account at the end of each month. This is the simplest option and no merchant account is required.
-
-
Option 2 - Use your PayPal, Authorize.Net or Stripe credit card processor account
-
Select "Use my credit card processor account" and click on "Add Processor" to add your merchant account.
-
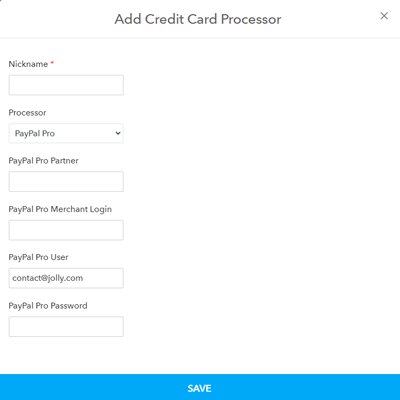
Enter a nickname and select the processor type.
-
Enter your merchant account details.
-
Click "Save" to save your account settings.
-
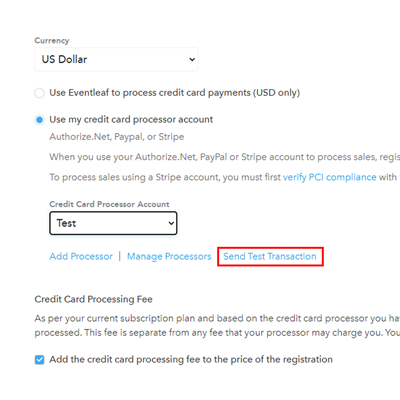
Click "Send Test Transaction" to ensure that your processor is linked successfully.
-
Log in to your merchant account website and verify that the test transaction was received. You should then select the processor in the "Credit Card Processor" list.
-
You are all set to use your merchant account to process credit card payments for your event!
If you choose this option, your merchant account will be used to process credit card transactions and funds will appear in your account immediately.
-