-
1. Prerequisites
- A device with the Eventleaf Check In app installed.
- An active event set up on the Eventleaf platform.
- Internet connection.
- Payment gateway integrated with your Eventleaf account.
-
2. Set Up the Event and Ticket Feature on Eventleaf Portal
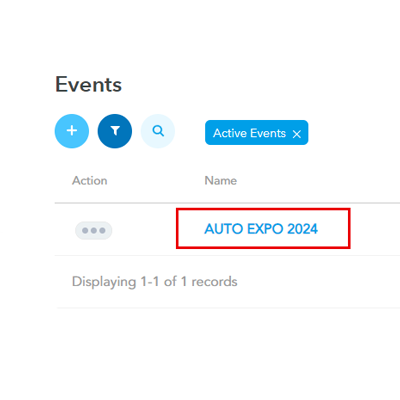
- Sign in to Eventleaf.com and select the event for which you want to collect payments.
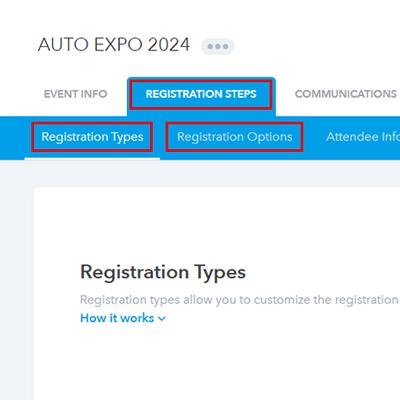
- Click on REGISTRATION STEPS and check that the Registration
Types and
Registration Options are set up correctly.
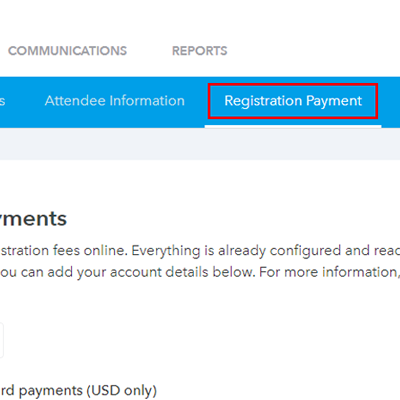
- Configure the PAYMENT SETTINGS and DISCOUNTS.
- Ensure your payment settings and payment gateway (e.g., PayPal, Stripe) are configured
correctly
under the Registration
Payments section.
- Sign in to Eventleaf.com and select the event for which you want to collect payments.
-
3. Registering Attendees and Collecting Payment
Sign in to the Eventleaf Check In app and select the event and session for which you’re collecting payments.
To register attendees on-site, tap on the register button at the bottom of the check-in screen.
Select the Registration Type and tap on NEXT.
Enter the attendee’s details and tap NEXT.
Choose the payment method provided by the attendee (e.g., Credit/Debit Card).
Follow the on-screen instructions to process the payment. The specifics will vary depending on your integrated payment gateway.
-
4. Verifying Payment Status
Once payment is completed, the app will show a payment confirmation message.
You can also verify payments by navigating to the attendee's details and checking the payment status.