-
Before you start
- Owner access. 2FA is an organization setting. Only the account owner can change organization settings. Administrators, Event Managers, and Check In Staff cannot.
-
Setting up two-factor authentication, step by step
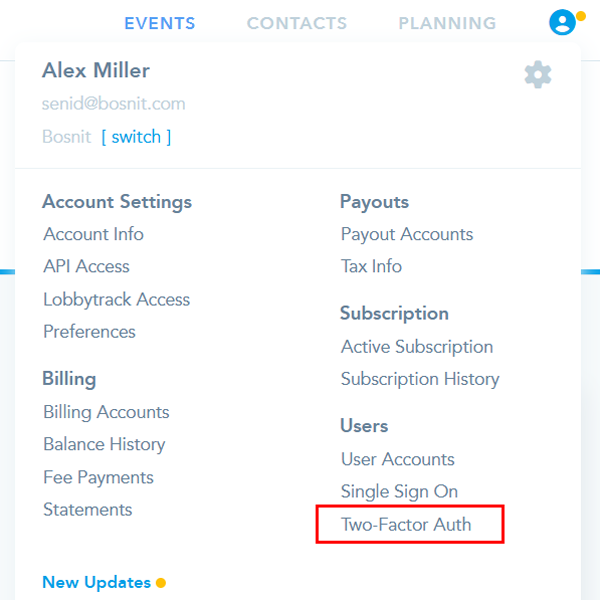
1. Open the Two-Factor Auth settings
Log in to Eventleaf. Select the profile icon at the top right. Under Users, select Two-Factor Auth.
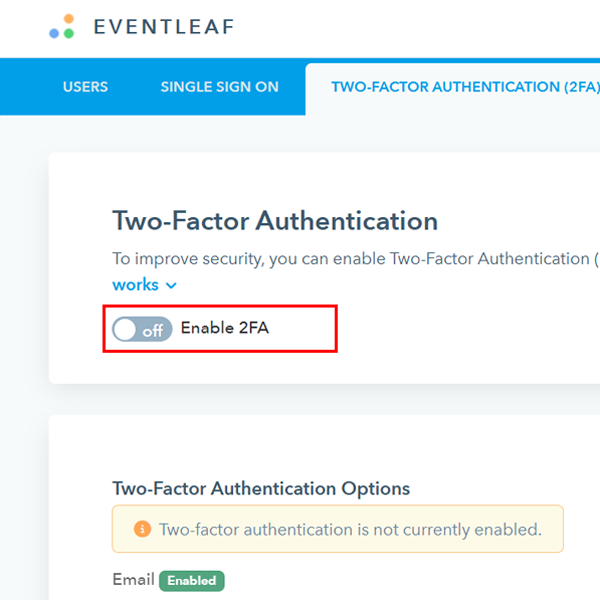
2. Turn on 2FA
Select the Enable 2FA toggle.
A Saved message appears and the page reloads. The toggle now reads On.
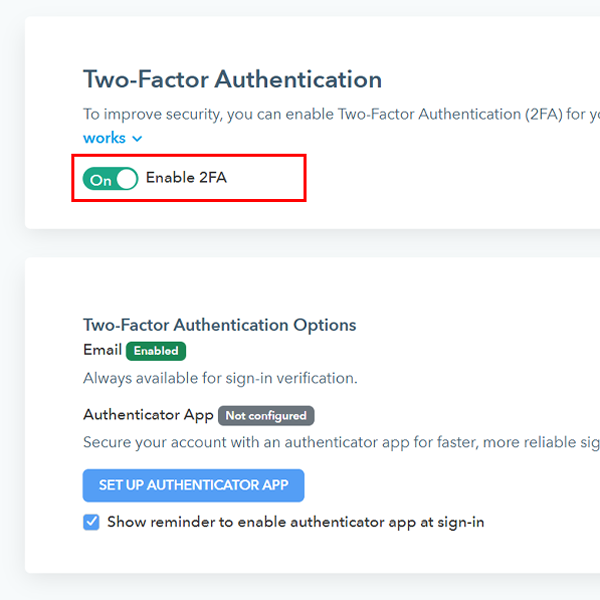
From now on, you and your users must enter a security code at each login.
3. Set up the authenticator app
If you want to get codes from an app instead of by email, set up an authenticator app.
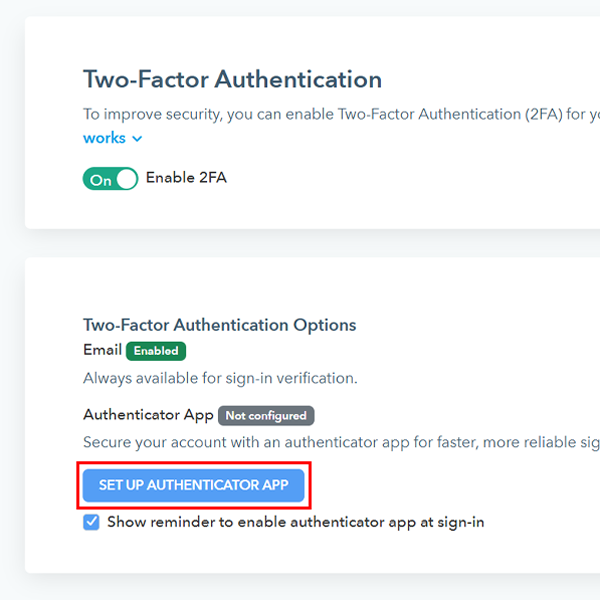
Under Two-Factor Authentication Options, select Set Up Authenticator App.
Then:
- Open the authenticator app on your phone.
- Scan the QR code in the popup. If you cannot scan it, enter the setup key under the QR code into your app instead.
- Your app now shows a 6-digit code for
Eventleaf. Enter it in the popup text field.
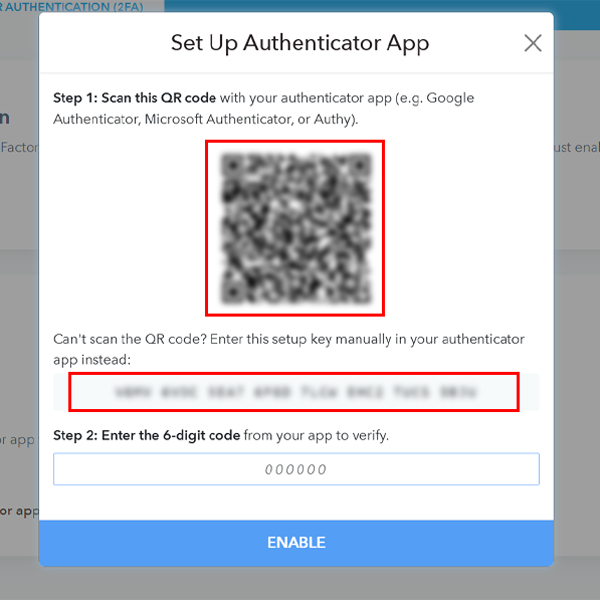
- Select ENABLE.
4. Save your recovery codes
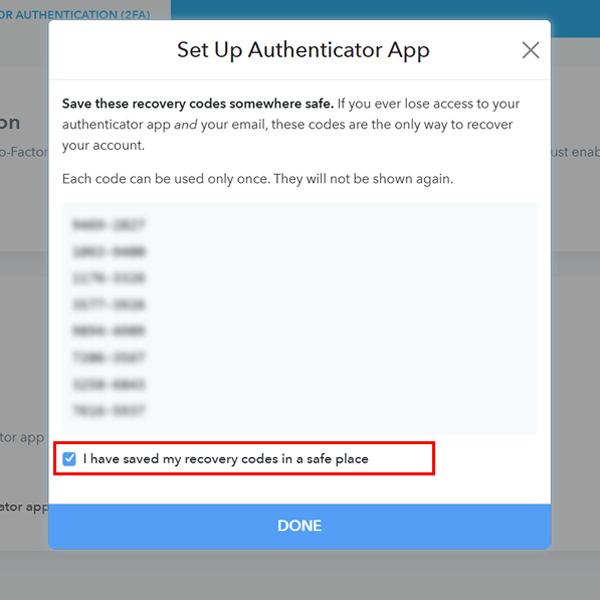
After you select ENABLE, Eventleaf shows you 8 recovery codes. They let you log in if you lose access to your phone and your email.
- Copy the codes to a safe place, such as a password manager.
- Select I have saved my recovery codes in a safe place.
- Select DONE. The button stays grayed out until you select the
checkbox.
5. Test your next login
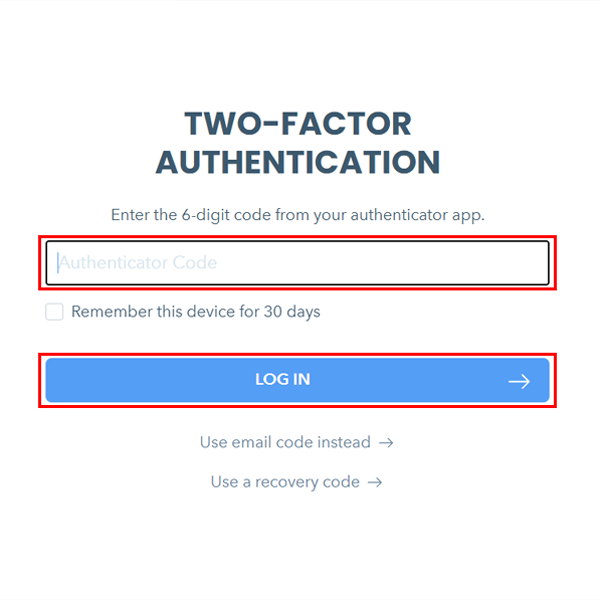
Log out, then log in again.
After your password, Eventleaf asks for a code. Enter the code, then select LOG IN.
-
Pro tip: Replace used recovery codes
Each recovery code works only once. The 2FA page shows how many you have left, for example "You have 8 of 8 recovery codes remaining."
When you run low, select Regenerate Recovery Codes and save the new set. Do the same if you think someone has seen your codes.