-
Please follow the steps listed below to set up an integration and create a zap:
-
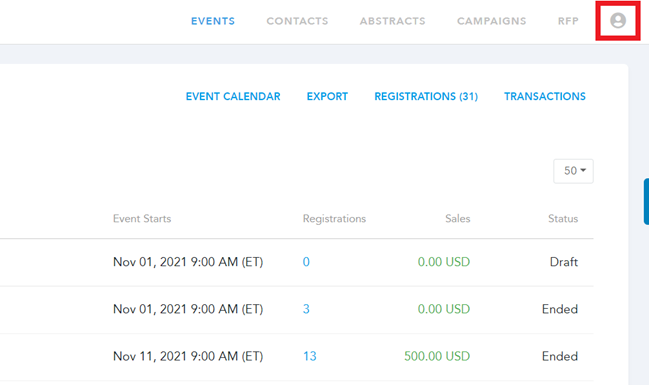
We need to capture the API key from Eventleaf to establish the integration. Log in to your Eventleaf account and click on the Profile icon at the top right corner.
-
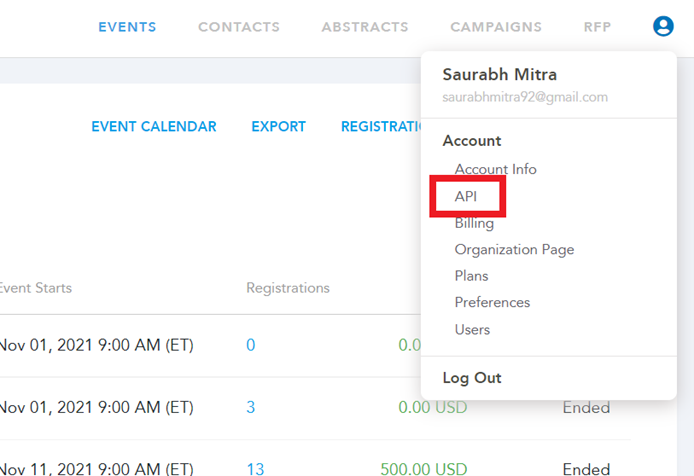
Click on 'API' from the drop-down menu.
-
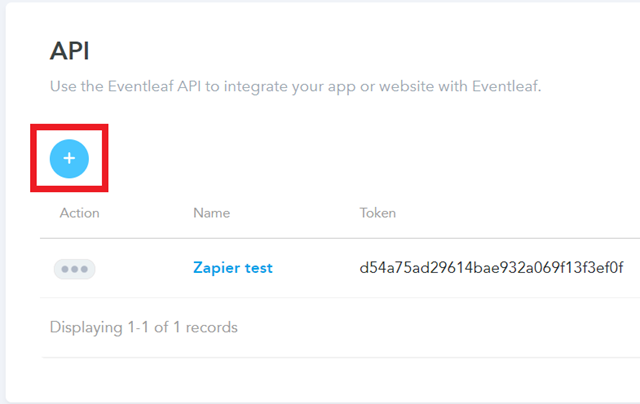
Click on the + icon to create a new API key for the integration.
-
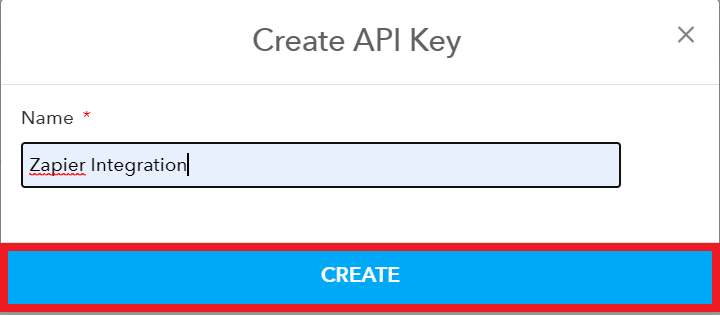
Give it a name and then click on 'create'.
-
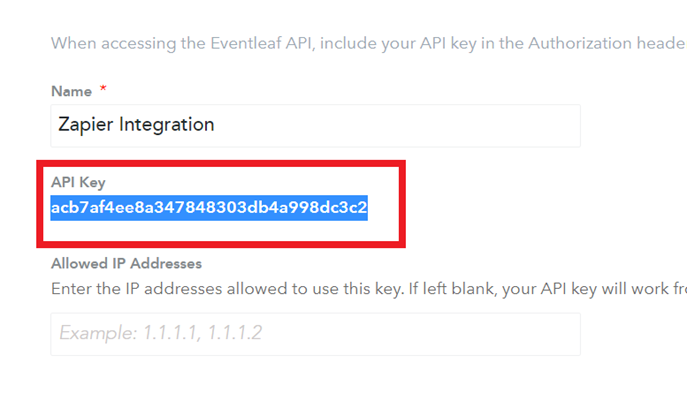
Copy the API key that gets generated. You will need this key while creating the trigger in Zapier.
-
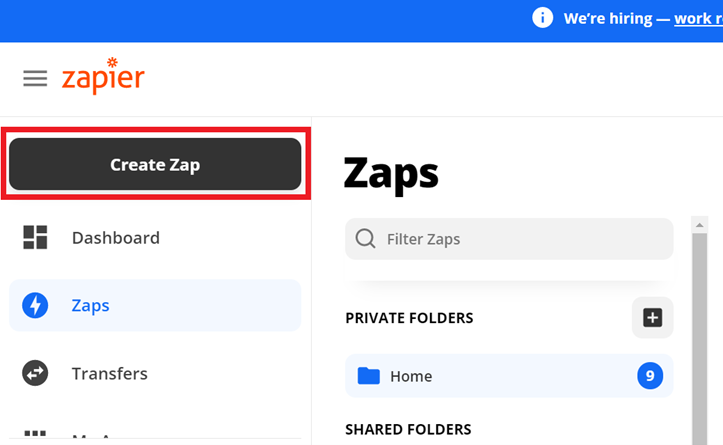
Log in to Zapier.com and then click on the create Zap button.
-
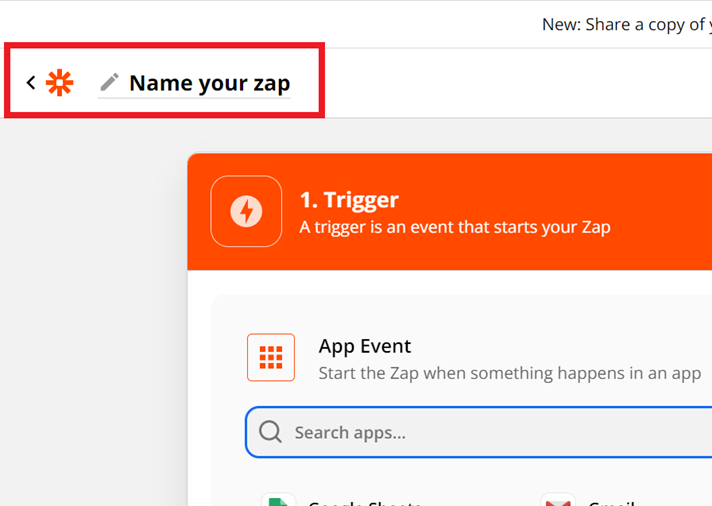
Click on 'name your Zap' at the top left corner and give this Zap a name. You may need multiple Zaps. This name will help you determine what the purpose of the Zap is.
-
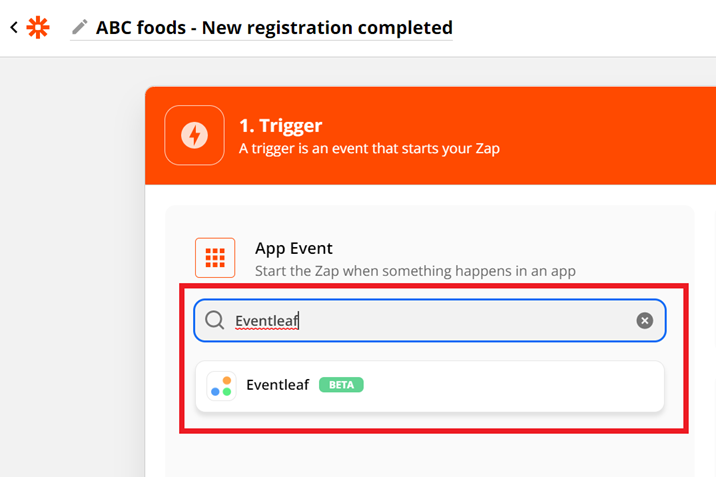
Search for 'Eventleaf app' using the search bar in the first step.
-
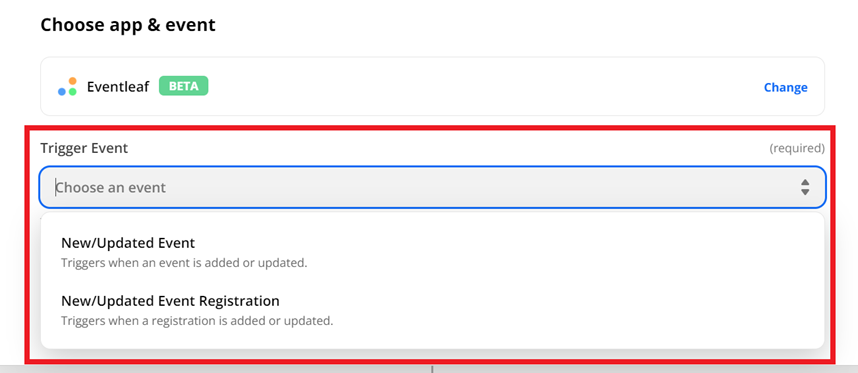
Select the trigger.
- New/Updated Event - triggers when a new event is created in your Eventleaf account.
- New/Updated Event Registration - Triggers when registration is added or updated in your event.
-
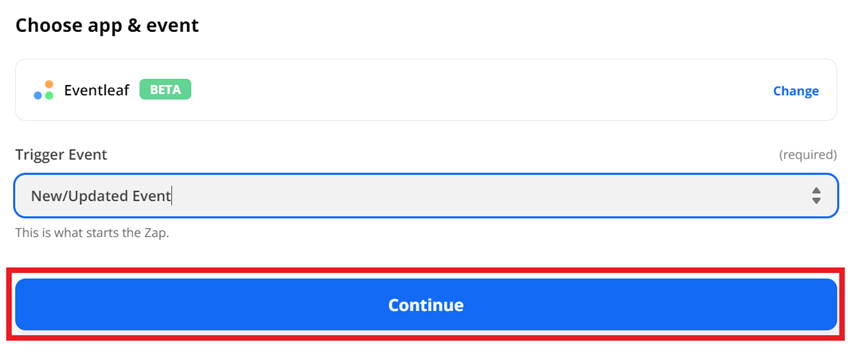
Once you select the app and the trigger, click on the continue button.
-
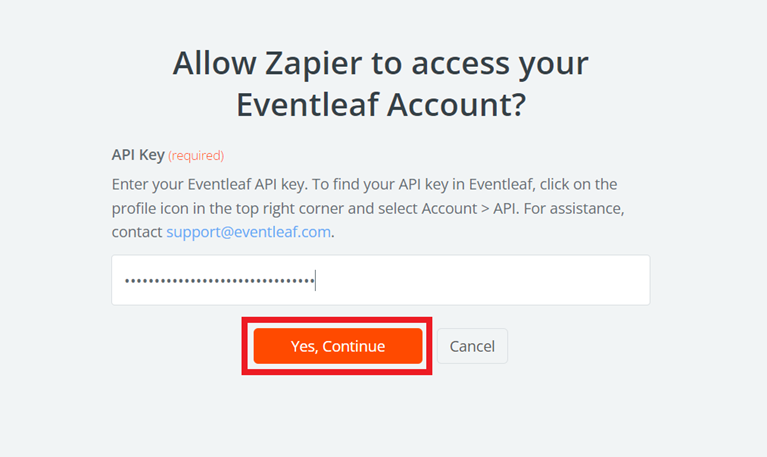
You will now see a pop-up window requesting for the API key. Link your Eventleaf account to this Zap using the API key that you generated in Eventleaf. Enter the key and then click on 'yes, continue'.
-
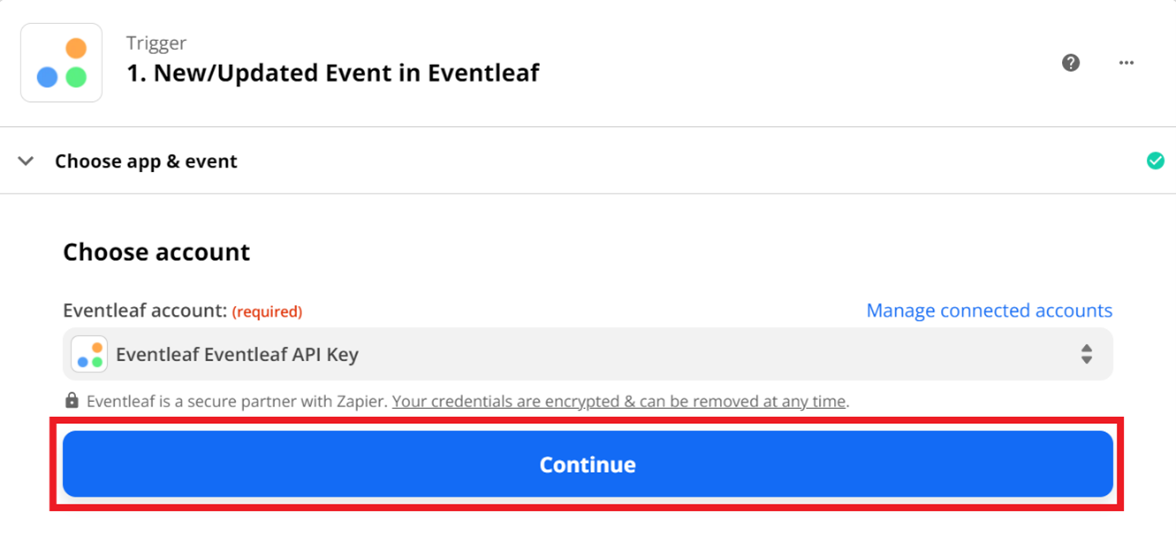
Once the API is linked, click on 'continue'.
-
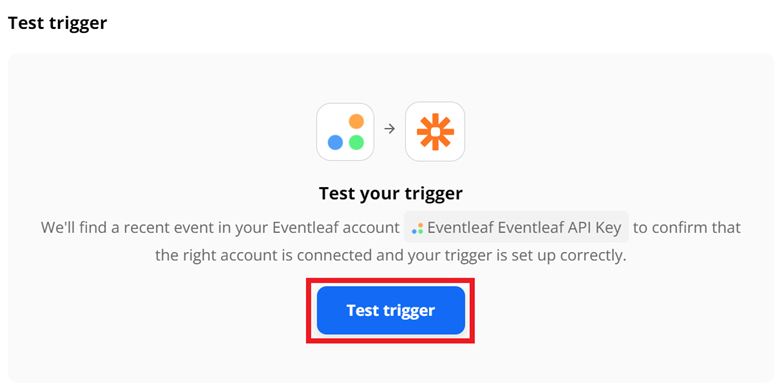
Then click on the 'test trigger' button. The system will find a recent event in your account to confirm that the correct account has been connected.
-
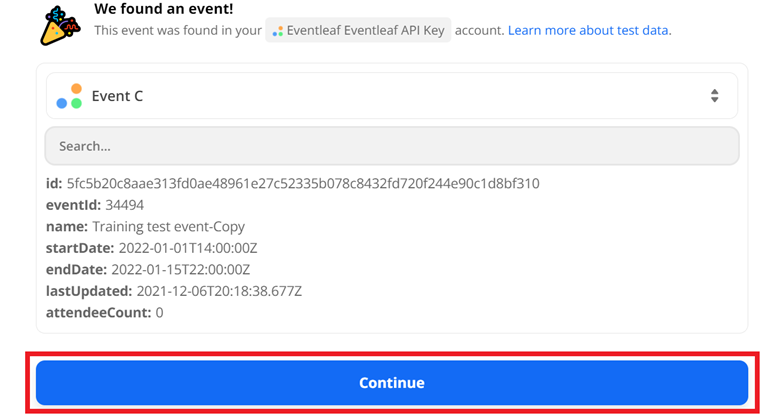
Check the information and if the system fetched details about the correct event, then click on 'continue'.
-
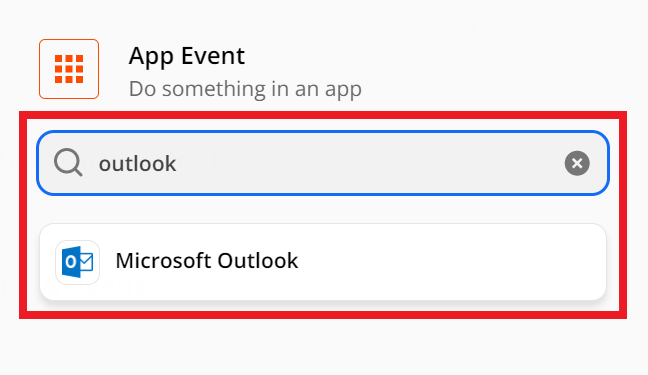
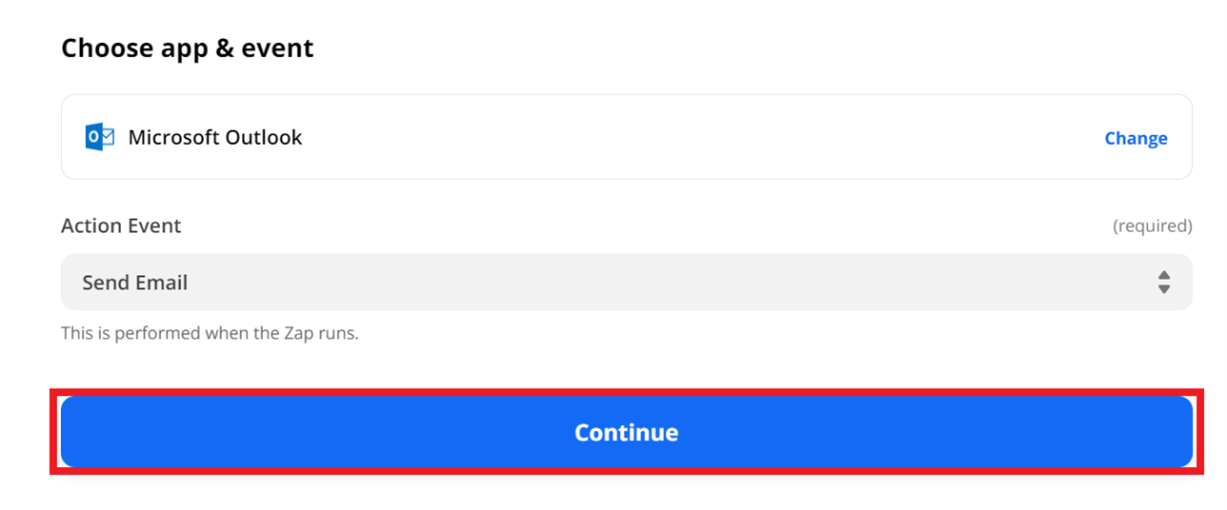
Once you verify that your Eventleaf account is linked with the Zap, you need to select the action that the Zap should perform. You will first have to select the application through which the action should be initiated. For example: Facebook, Outlook, Gmail, etc.
-
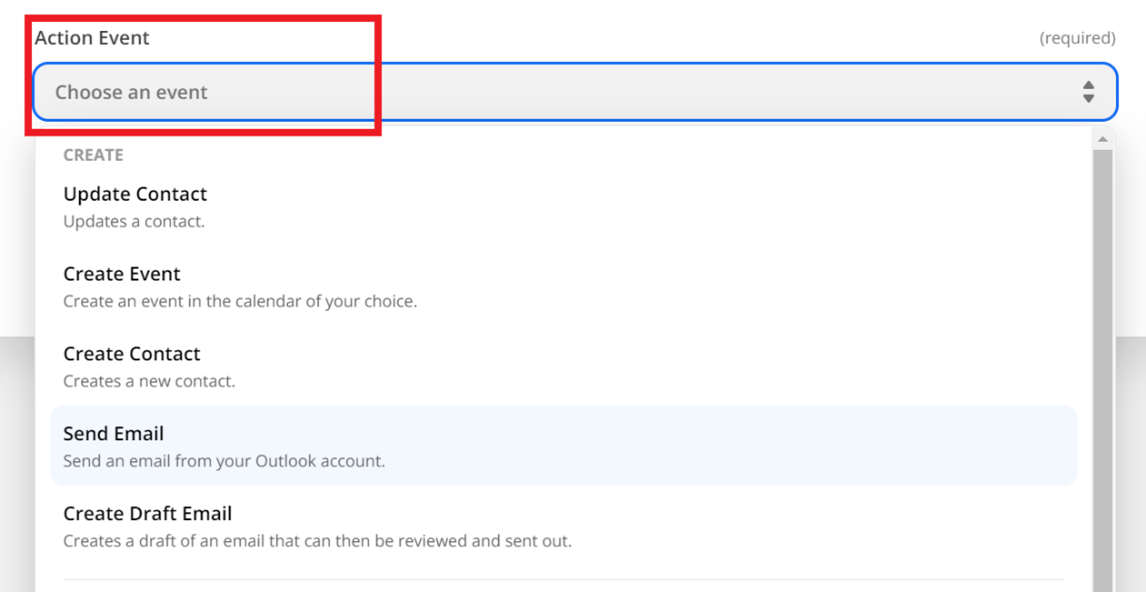
Select the action event. For example: If you selected Outlook as the action app, then you can select 'send email' or 'create a new contact' as the action in Outlook.
-
Then click on 'continue'.
-
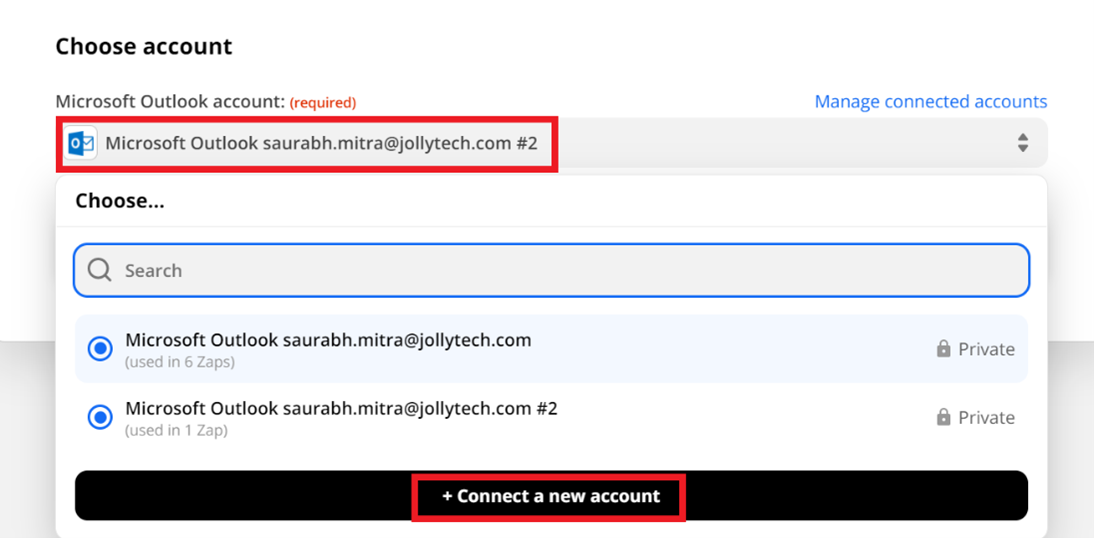
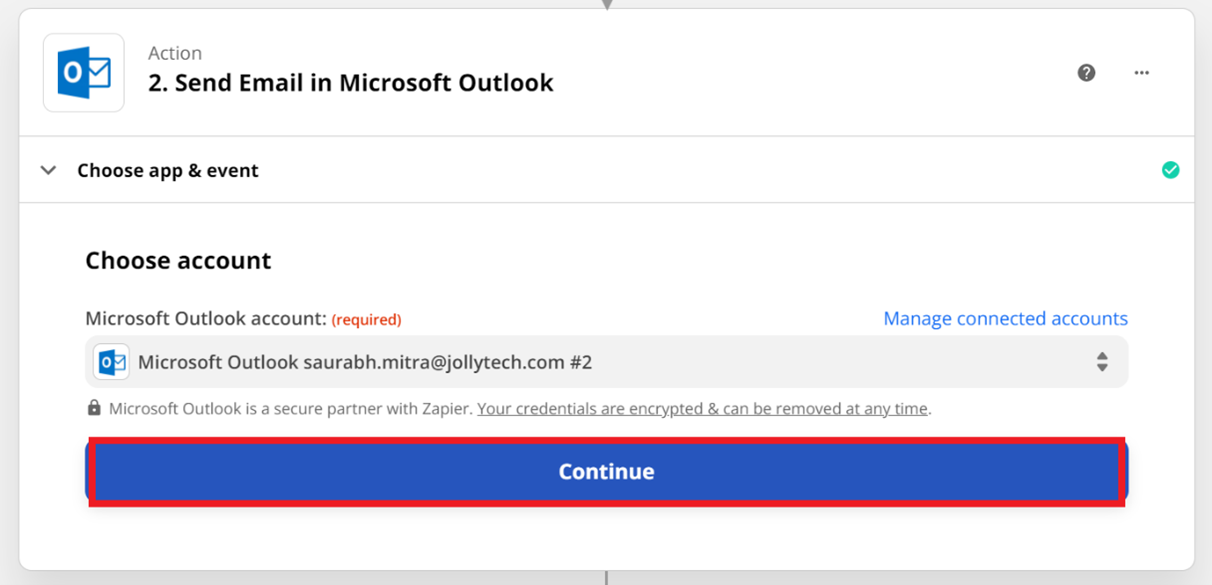
Then you need to link an account from the action application. In this case, you will need to log in to your Outlook account. Click on the account field and then select a saved account from the drop-down, or click on connect a new account to login in to your outlook account.
-
Then click on 'continue'.
-
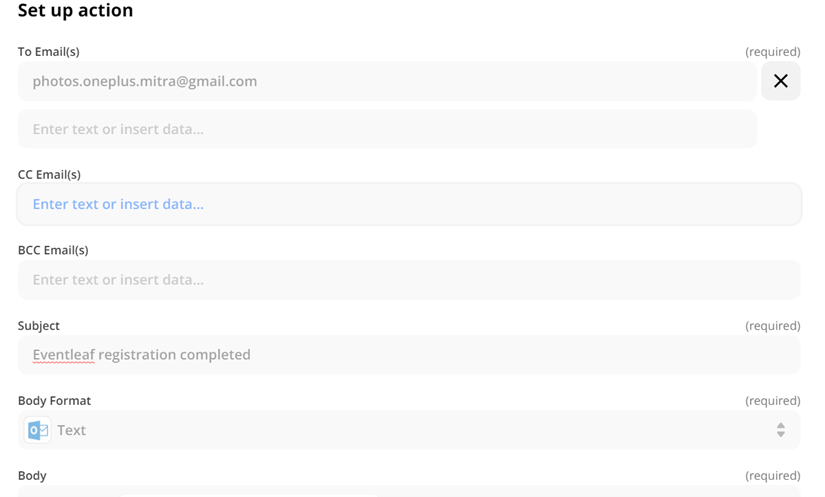
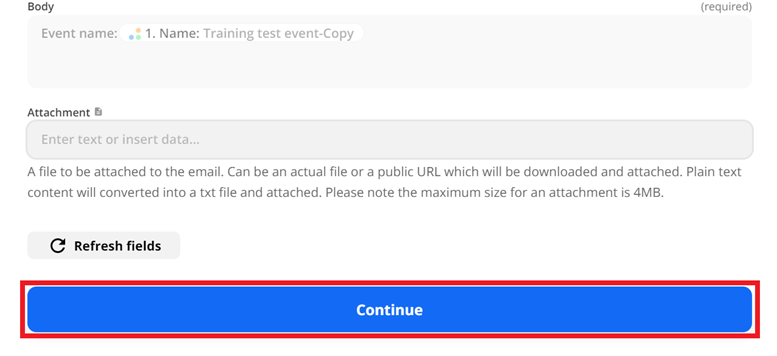
Now you need to set up the action. If the action is to send out an email, then you need to select the recipient email address, Email subject, body, and type.
-
Click on 'continue' once you create the action.
-
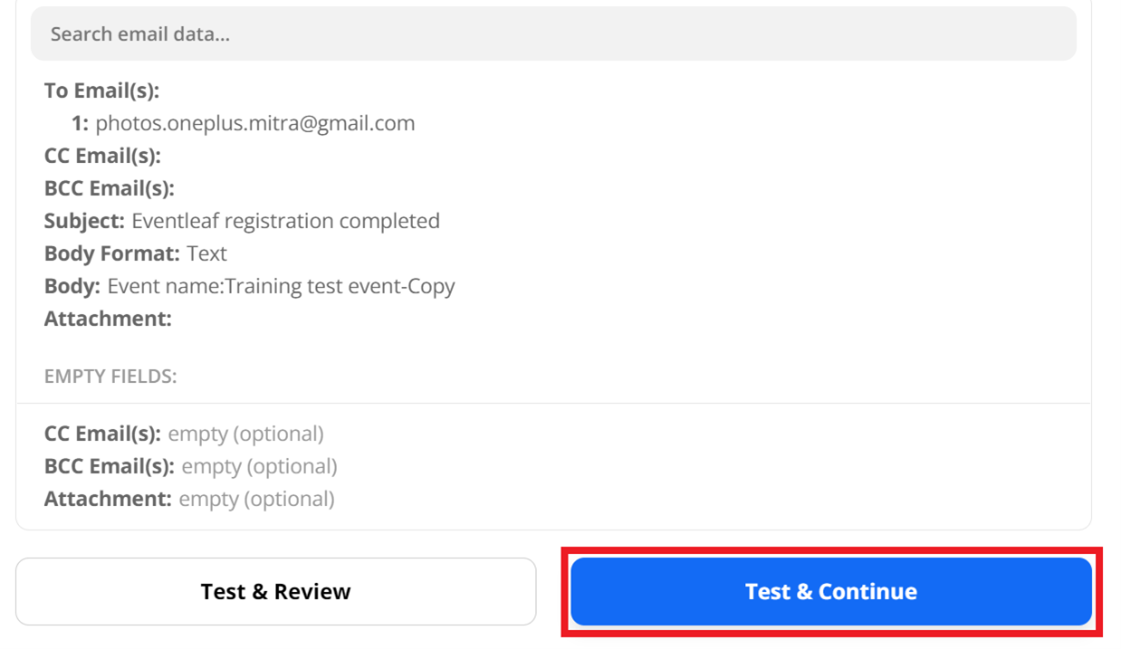
Scroll down and then click on 'test and continue'.
-
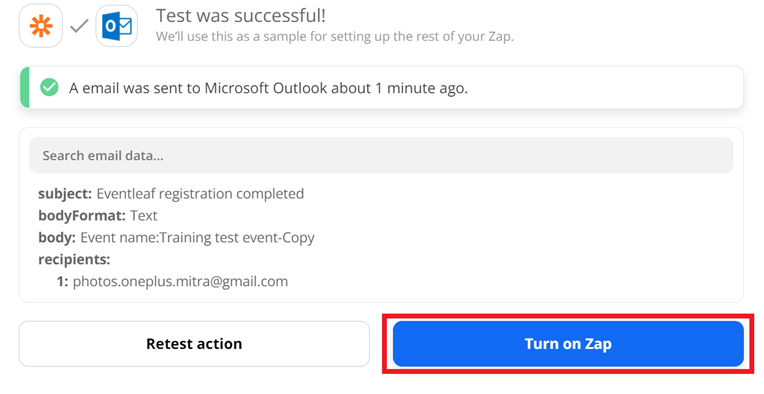
Once the test is successfully completed in the action app, click on 'turn on Zap' to start using this new Zap.
-