-
Setting up a registration rule, step by step
1. Open the Permission settings
Open your event. Go to Registration Steps › Settings.
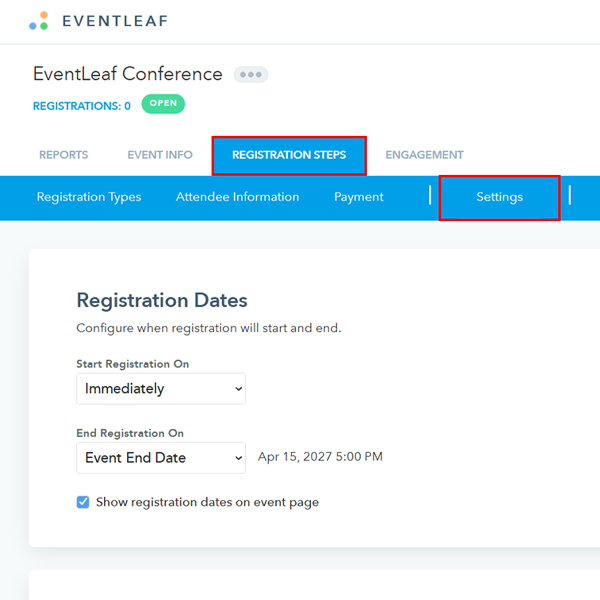
Scroll down to the Permission section.
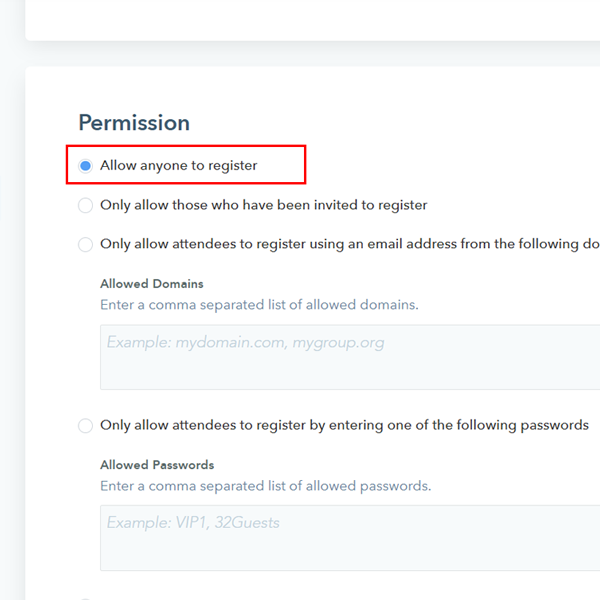
2. Pick one rule
There are four options available to you to limit who can register for your event. Here are the steps to set up each one:
Option A: Allow only certain email domains
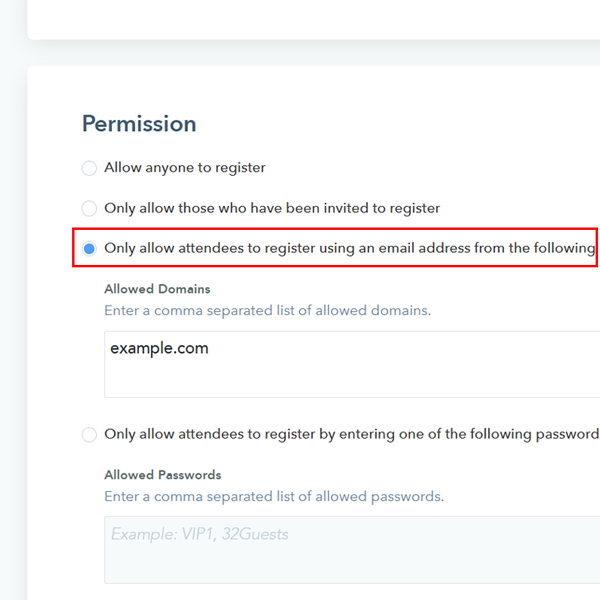
- Select Only allow attendees to register using an email address from the following domains.
- In Allowed Domains, enter each domain, separated by commas. For
example, example.com.
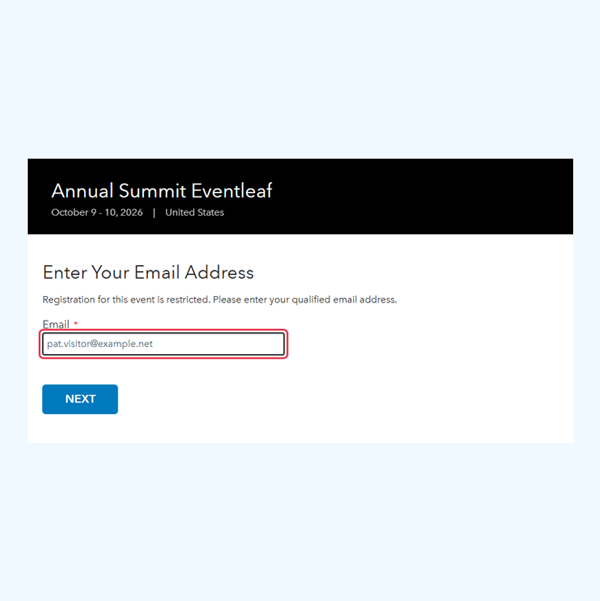
Registration now starts with an email check. The registrant enters their email and selects NEXT.
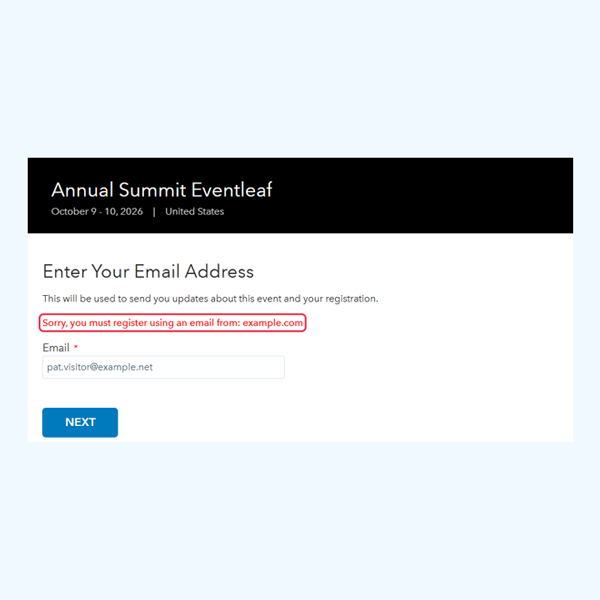
If the email is from another domain, the registrant sees this message.
Option B: Require an event password
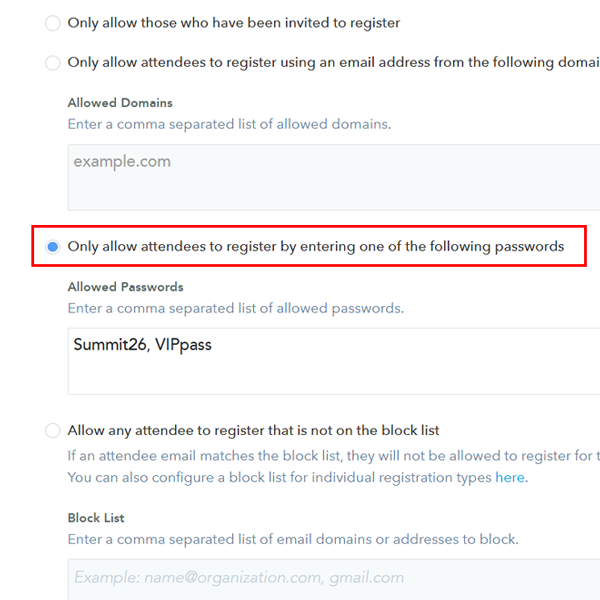
- From the Permission section, select Only allow attendees to register by entering one of the following passwords.
- In Allowed Passwords, enter one or more passwords, separated by
commas.
Registration now starts with an Enter Event Password page.
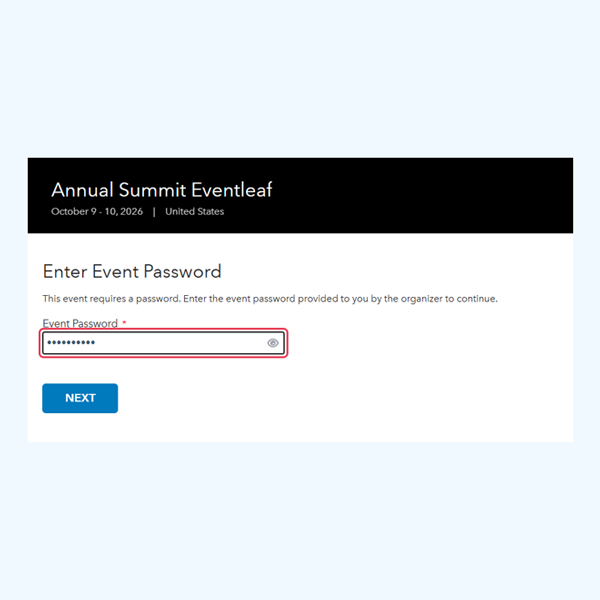
A wrong password shows this screen to the user:
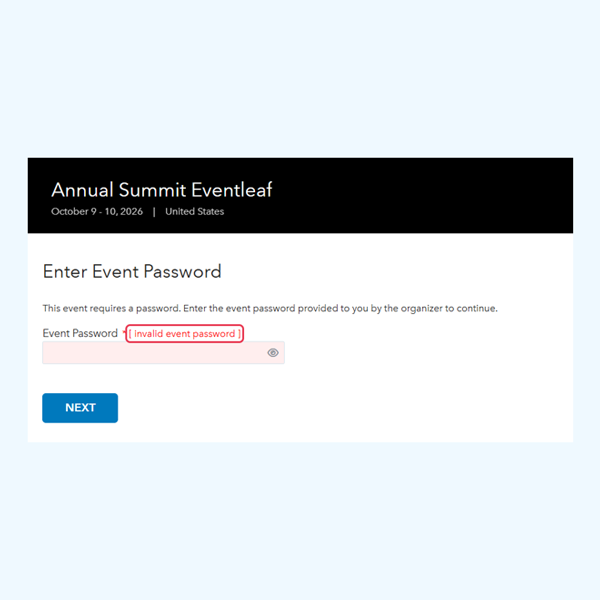
Important: Passwords are case-sensitive. If the password is Summit2026, the password summit2026 doesn't work.
Option C: Block specific emails or domains
- From the Permission section, select Allow any attendee to register that is not on the block list.
- In Block List, enter the email addresses or domains to block,
separated by commas.
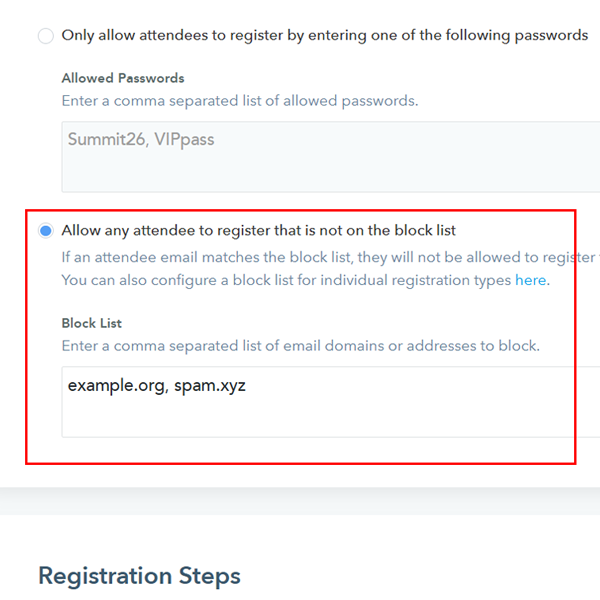
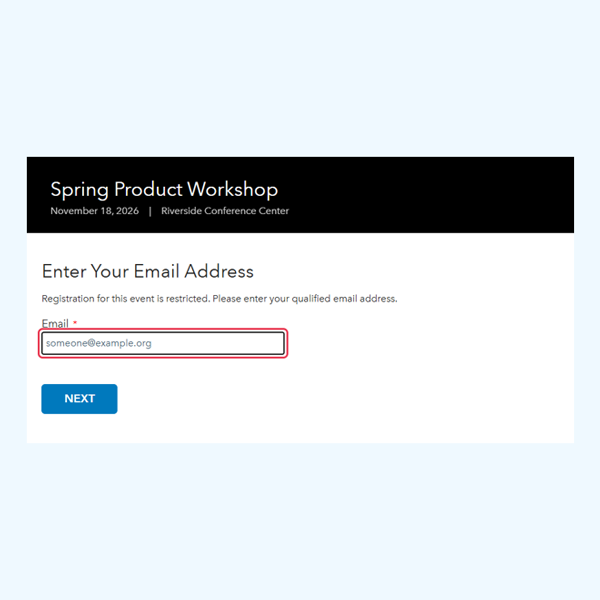
Registration now starts with the email check.
A blocked person sees this screen:
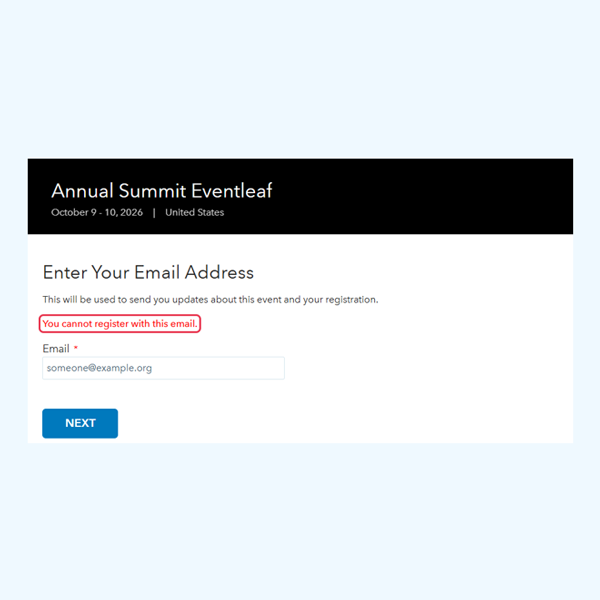
Option D: Allow only invited guests
From the Permission section, select Only allow those who have been invited to register.
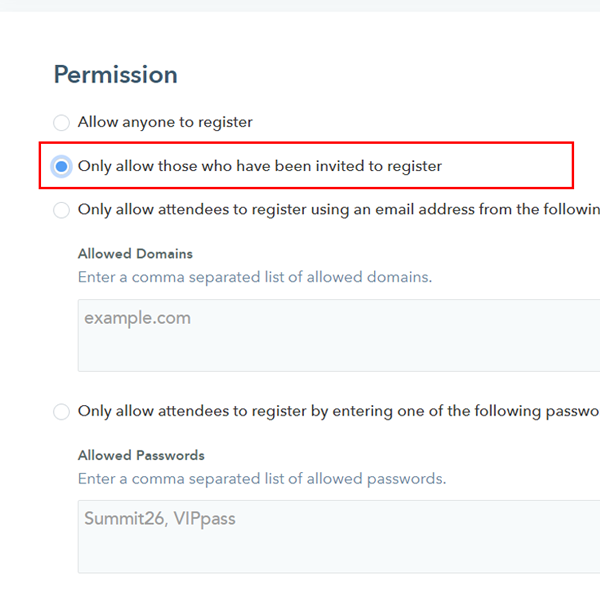
Then send the invitation:
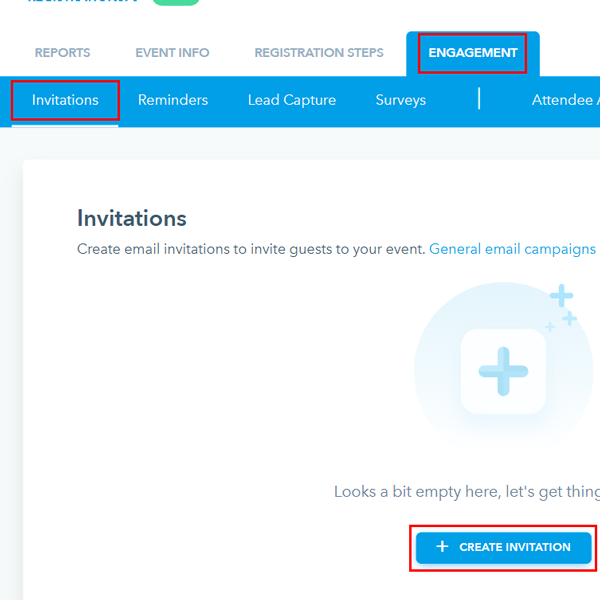
- Go to Engagement › Invitations. Select CREATE
INVITATION.
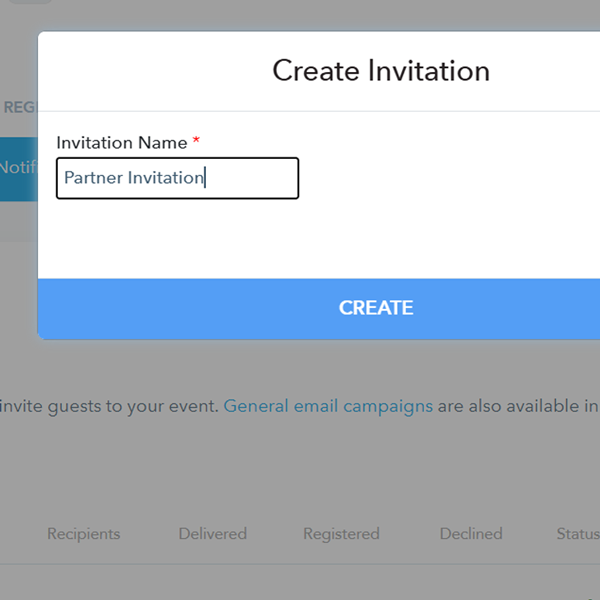
- Enter a name for the invitation, then select CREATE.
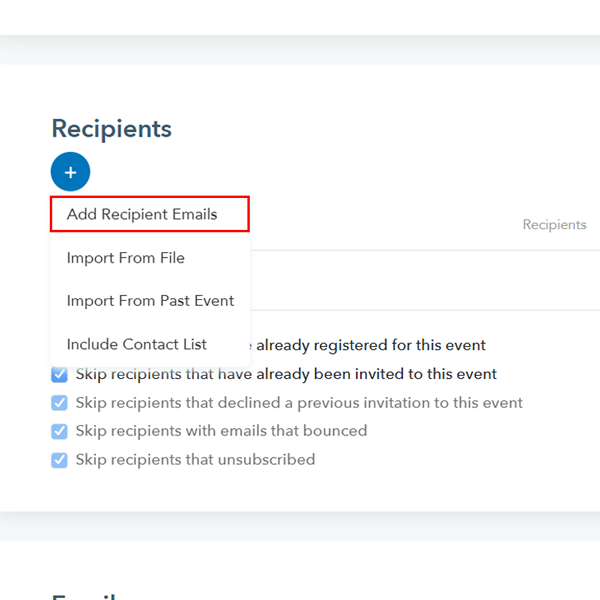
- Under Recipients, select +, then select
Add Recipient Emails.
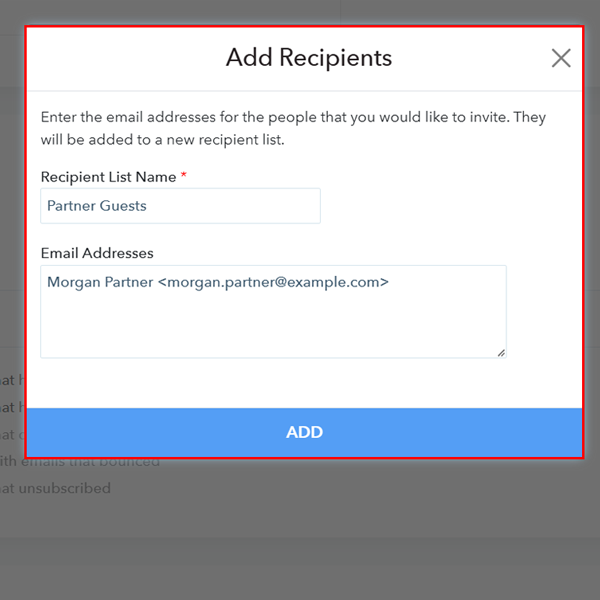
- Enter a Recipient List Name. In Email Addresses, enter each guest as Name <email>, separated by commas.
- Select ADD.
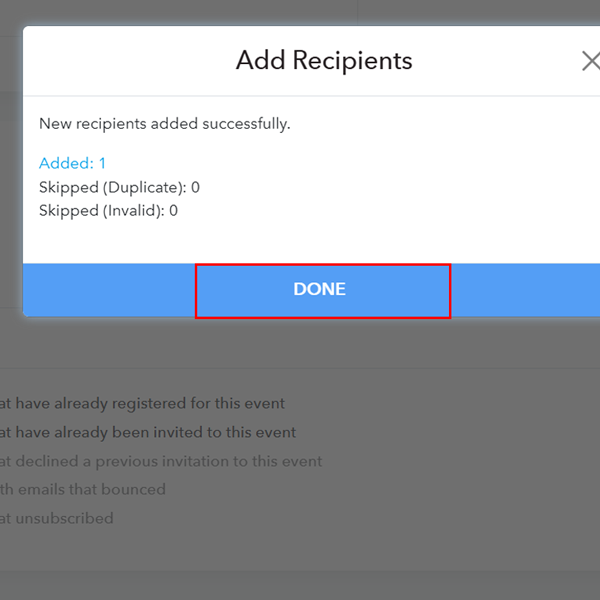
- Select DONE.
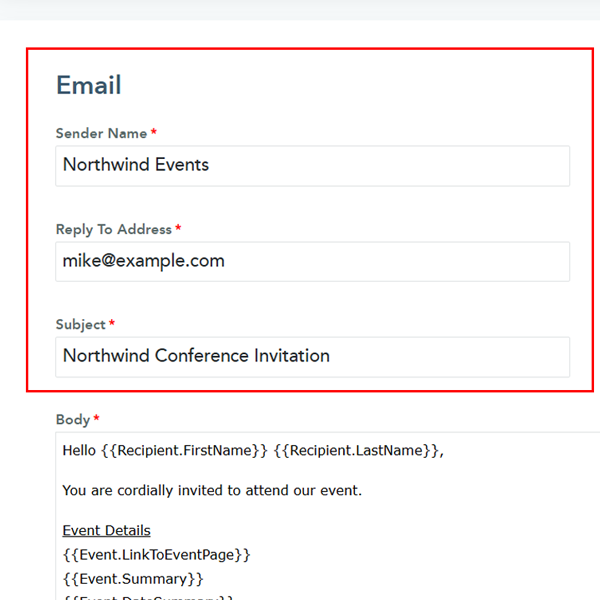
- Under Email, fill in Sender Name. Review the
Reply To Address and Subject.
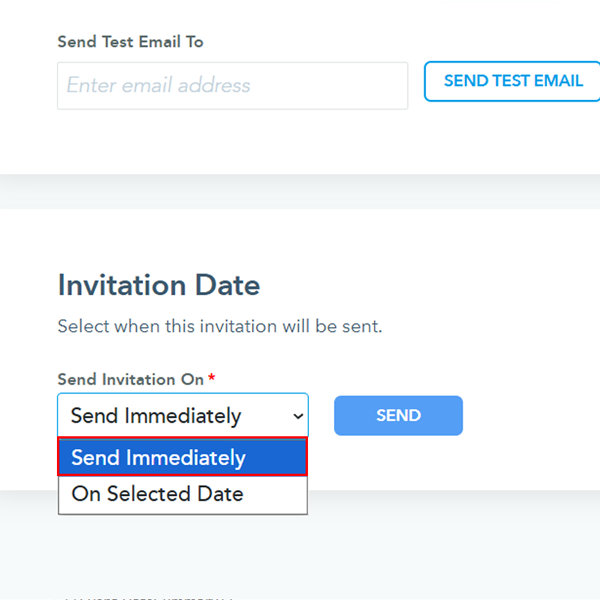
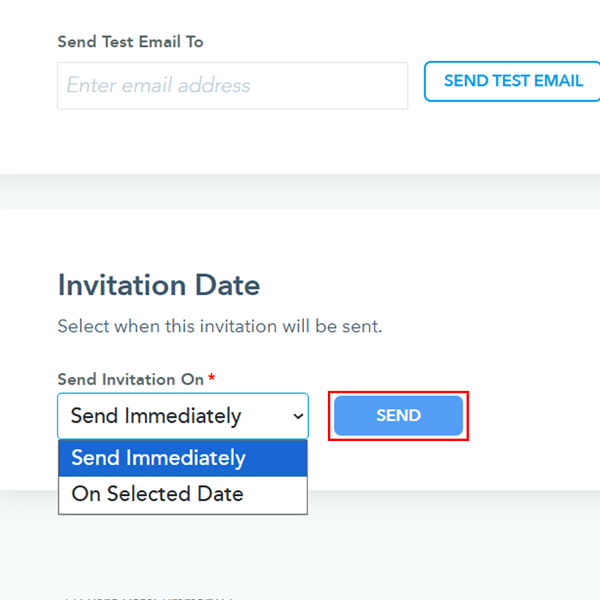
- If you want to send the invitation later, select On Selected Date
under Invitation Date and set the date. Otherwise, keep
Send Immediately.
- Select SEND.
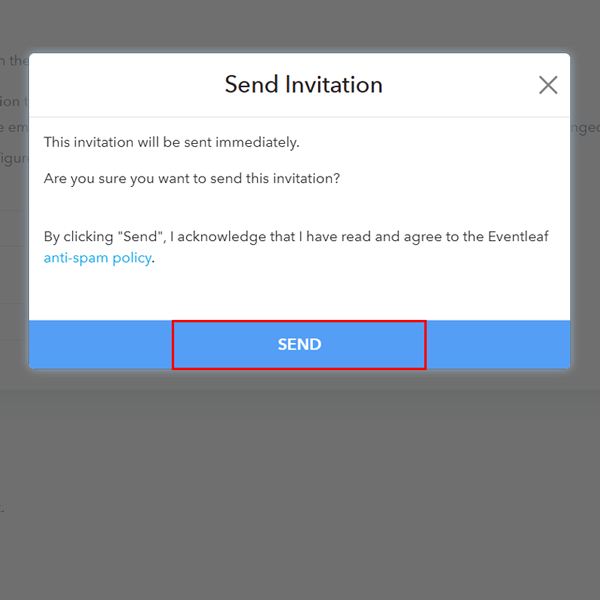
- In the Send Invitation popup, select SEND.
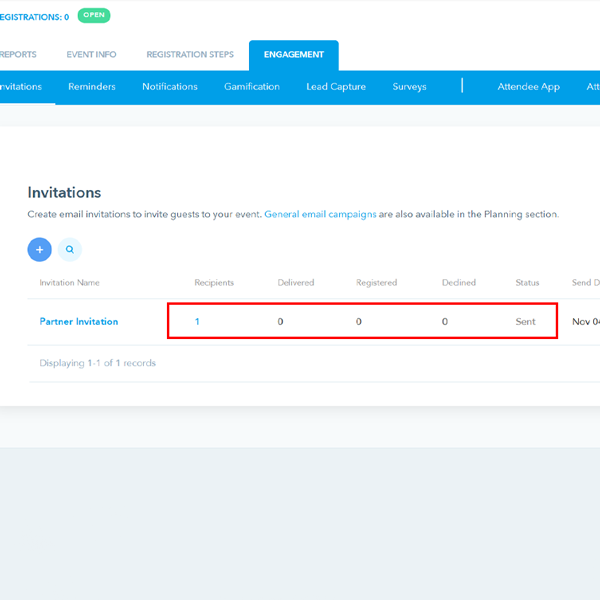
The invitations list shows each invitation's status, and how many guests registered or declined.
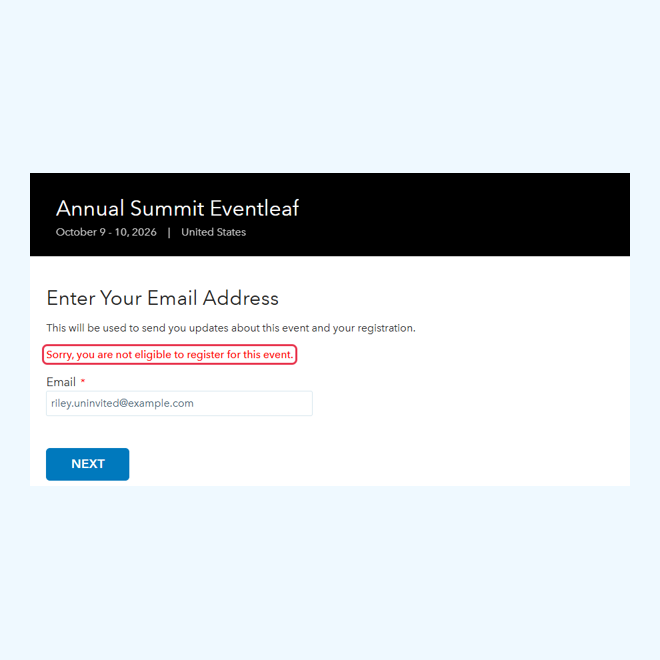
Invited guests register by entering their invited email on the registration form. Everyone else sees this message: