-
Steps
Design conference badge
-
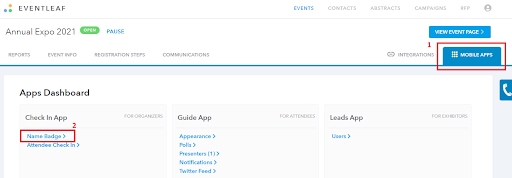
Go to "Mobile Apps > Check In App > Name Badge".
-
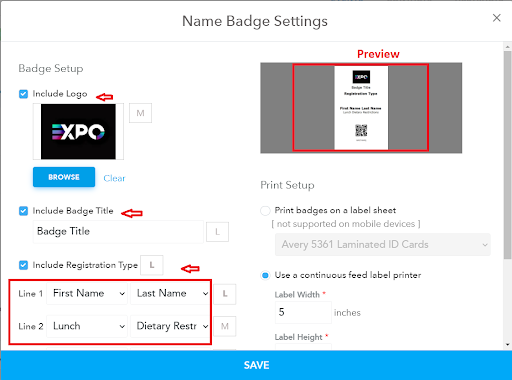
In "Name Badge Settings", you can customize the name badge by adding a logo and other fields.
-
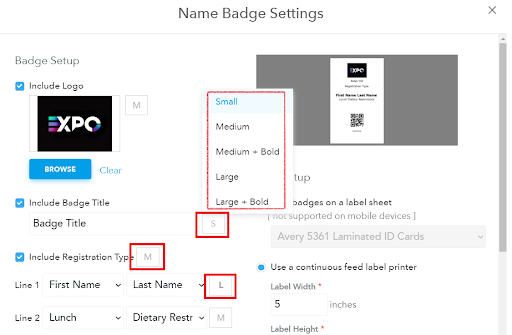
Adjust the font size by clicking on the button with the size indicator.
-
Configure the label stock and dimensions.
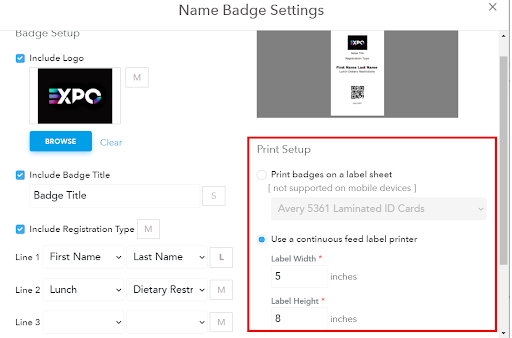
- Click "Save" when you are finished.
-
-
Print conference badges for multiple attendees
-
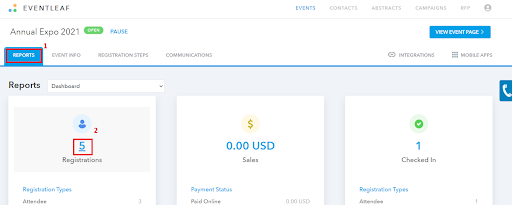
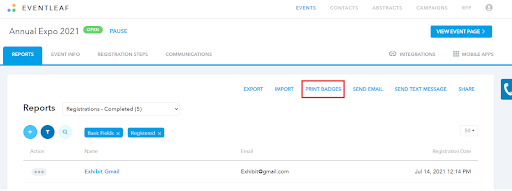
Go to "Reports > Registrations - Completed".
-
Click on "Print Badges".
-
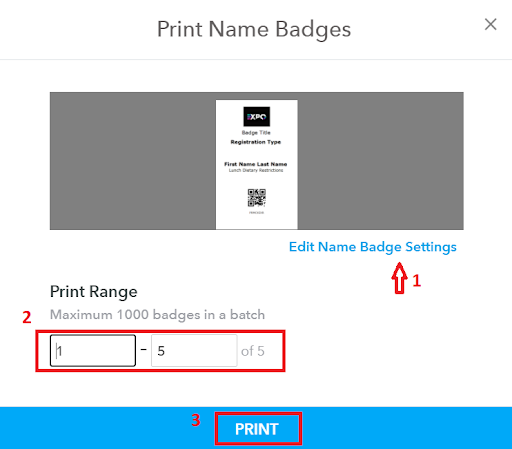
Set the "Print Range" and click on "Print". You could also edit the badge design settings, in necessary.
-
-
Print the conference badge for one attendee
-
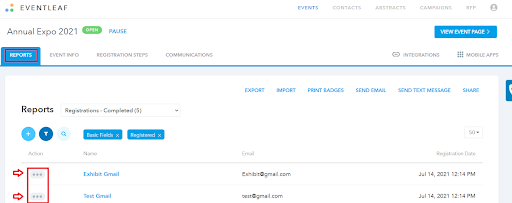
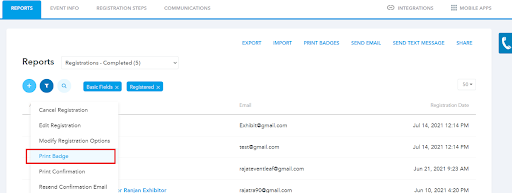
Go to "Reports > Registrations - Completed".

-
Find the attendee and click on the ellipses icon (...) next to their name.
-
Click on "Print Badge".
-
-
Use the Eventleaf Check In app to print the conference badge when the attendee arrives
-
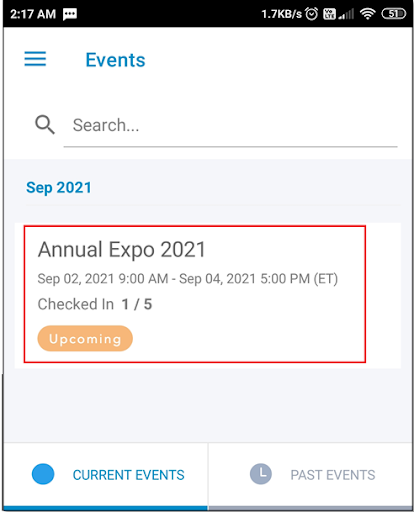
Install the Eventleaf Check In app and open the event.
-
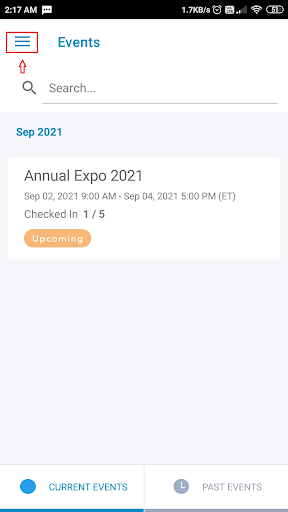
Tap on the menu icon in the top left corner.
-
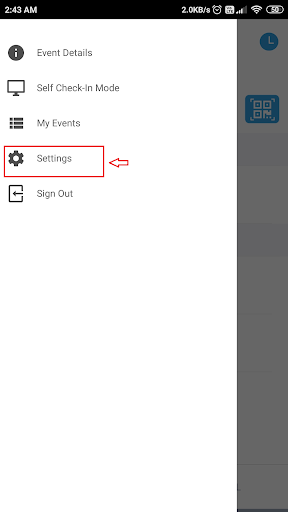
Tap on "Settings".
-
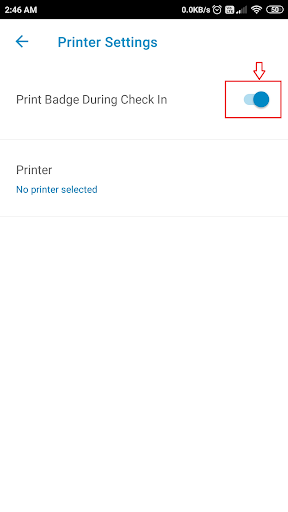
Tap on "Print Badge During Check In" and toggle the option to enable it.
-
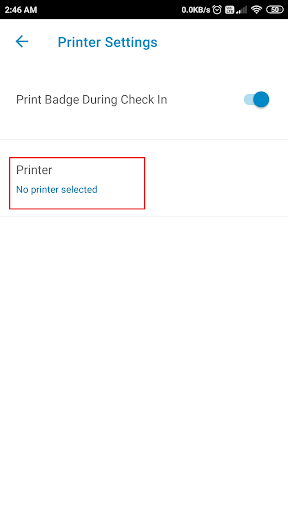
Tap on the "No printer selected" link and configure your printer. The settings will vary depending on the type of device you are using.
Supported Printers- Apple AirPrint Printers such as Brother QL-820NWB (Apple tablets and phones)
- Zebra LINK-OS with WiFi such as Zebra ZD400, ZD420 (Android and Apple tablets and phones)
- Desktop Printers (Windows tablets and PCs)
-
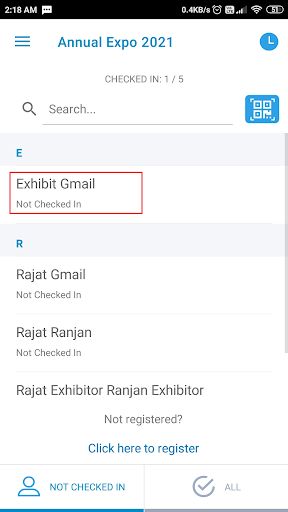
Tap the back arrow to go back to the event page then tap on an attendee's name.
-
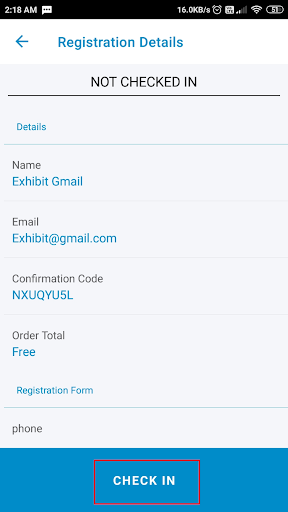
Scroll down and tap the "Check In" button. The attendee will be checked in and a badge will be printed.
-