Before You Begin
Ensure that:
- Your Salesforce account is successfully connected to Eventleaf.
- Field mappings have been configured.
- Required Salesforce fields (such as Last Name and First Name) are mapped.
Configure Your Field Mappings
-
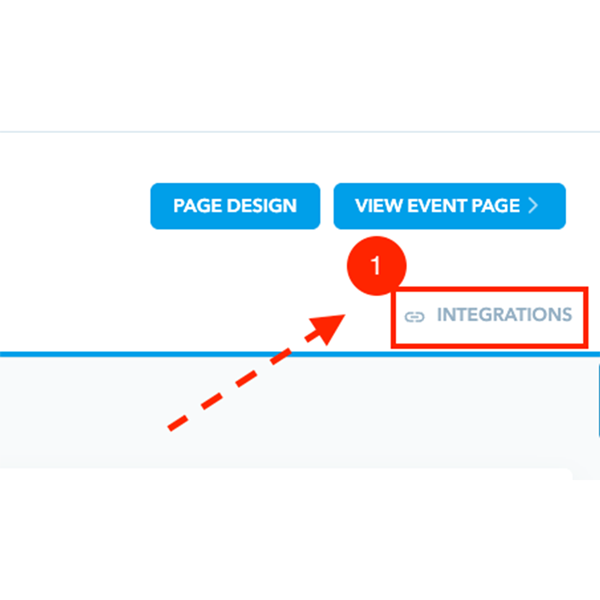
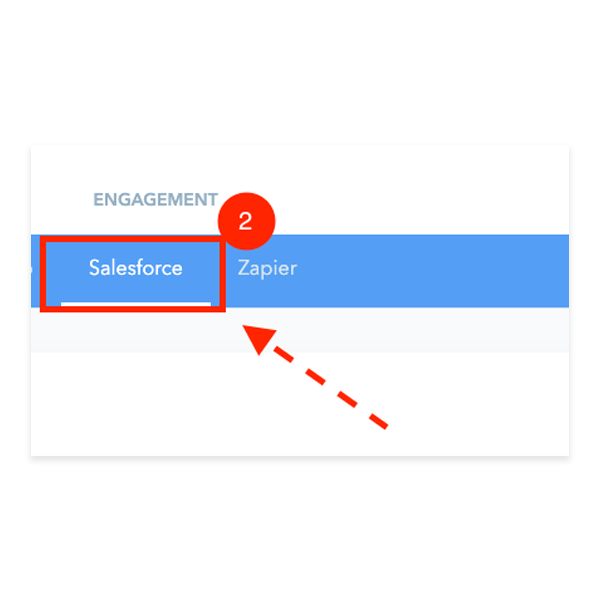
1. Navigate to Integrations > Salesforce.
-
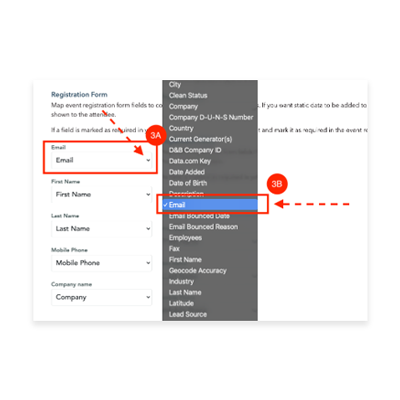
2. In the Exporting Data to Salesforce section, map your Eventleaf fields to the appropriate Salesforce Lead fields.
-
3. Verify that all required Salesforce fields have been mapped.
-
4. Click Save if you make any changes.
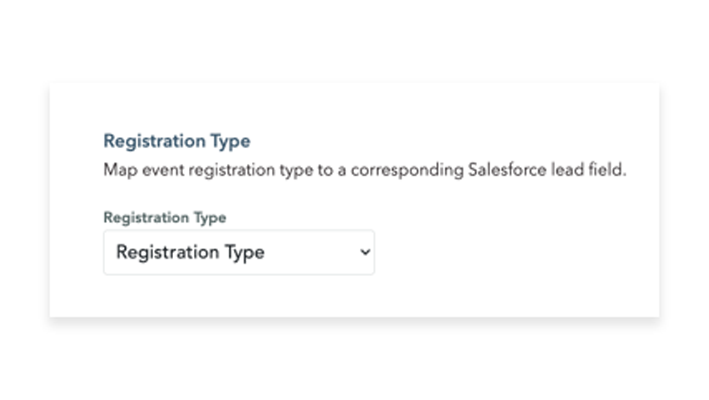
Tip: Custom fields in Salesforce can also be mapped if they are available in your Salesforce account. For example, you can map the Registration Type field to an existing Salesforce field or create a custom field in Salesforce specifically for registration types. This makes it easy to identify an attendee's registration type after the data has been exported.
Send Test Data (Recommended)
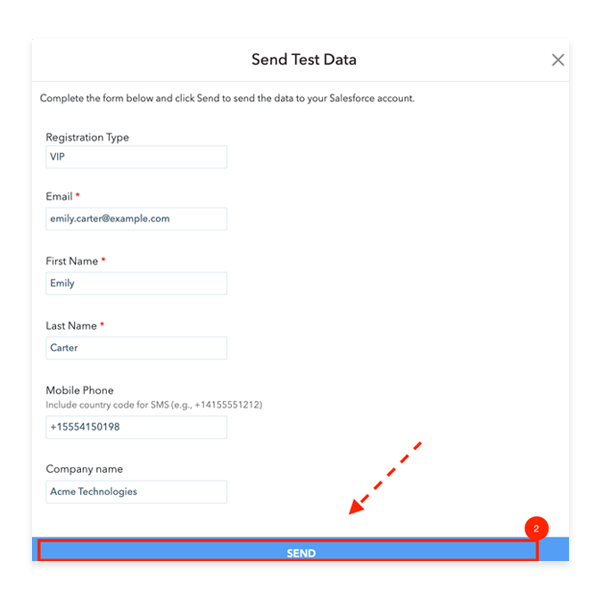
Before exporting actual attendee registrations, it's a good idea to verify that your field mappings are working correctly.
-
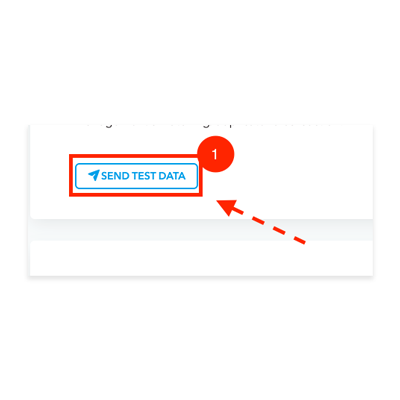
1. Scroll to the Send Test Data to Salesforce section.
-
2. Click Send Test Data.
-
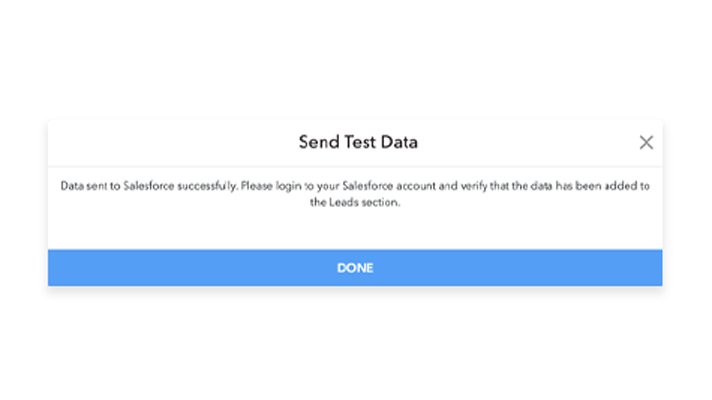
3. A confirmation message will appear indicating that the test data was sent successfully.
-
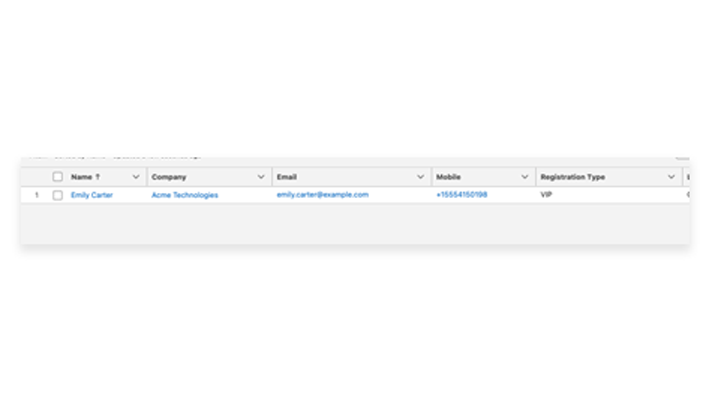
4. Log in to Salesforce and verify that a new Lead record has been created.
Verify Your Salesforce Integration
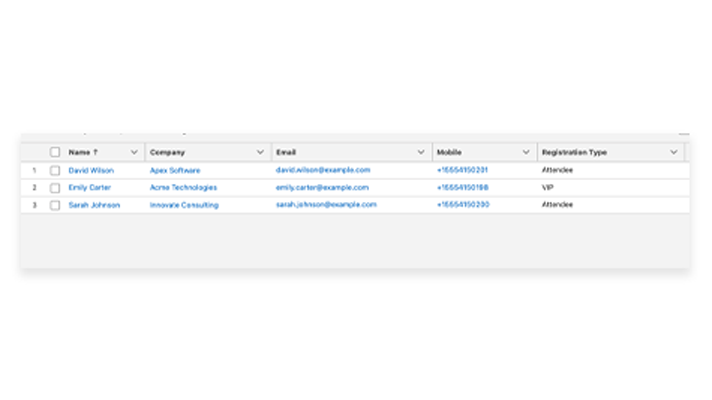
Once your Salesforce integration and field mappings are configured, any new attendees who register for your event will automatically appear in Salesforce as Lead records.
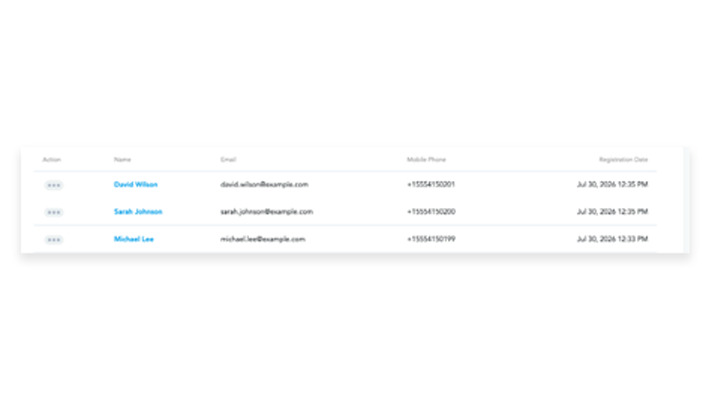
You can verify the export by opening Salesforce > Leads and confirming that the attendee's information has been populated correctly, including any mapped custom fields such as Registration Type.